
DIY Float Frames - Making them is Much Easier than you Think!
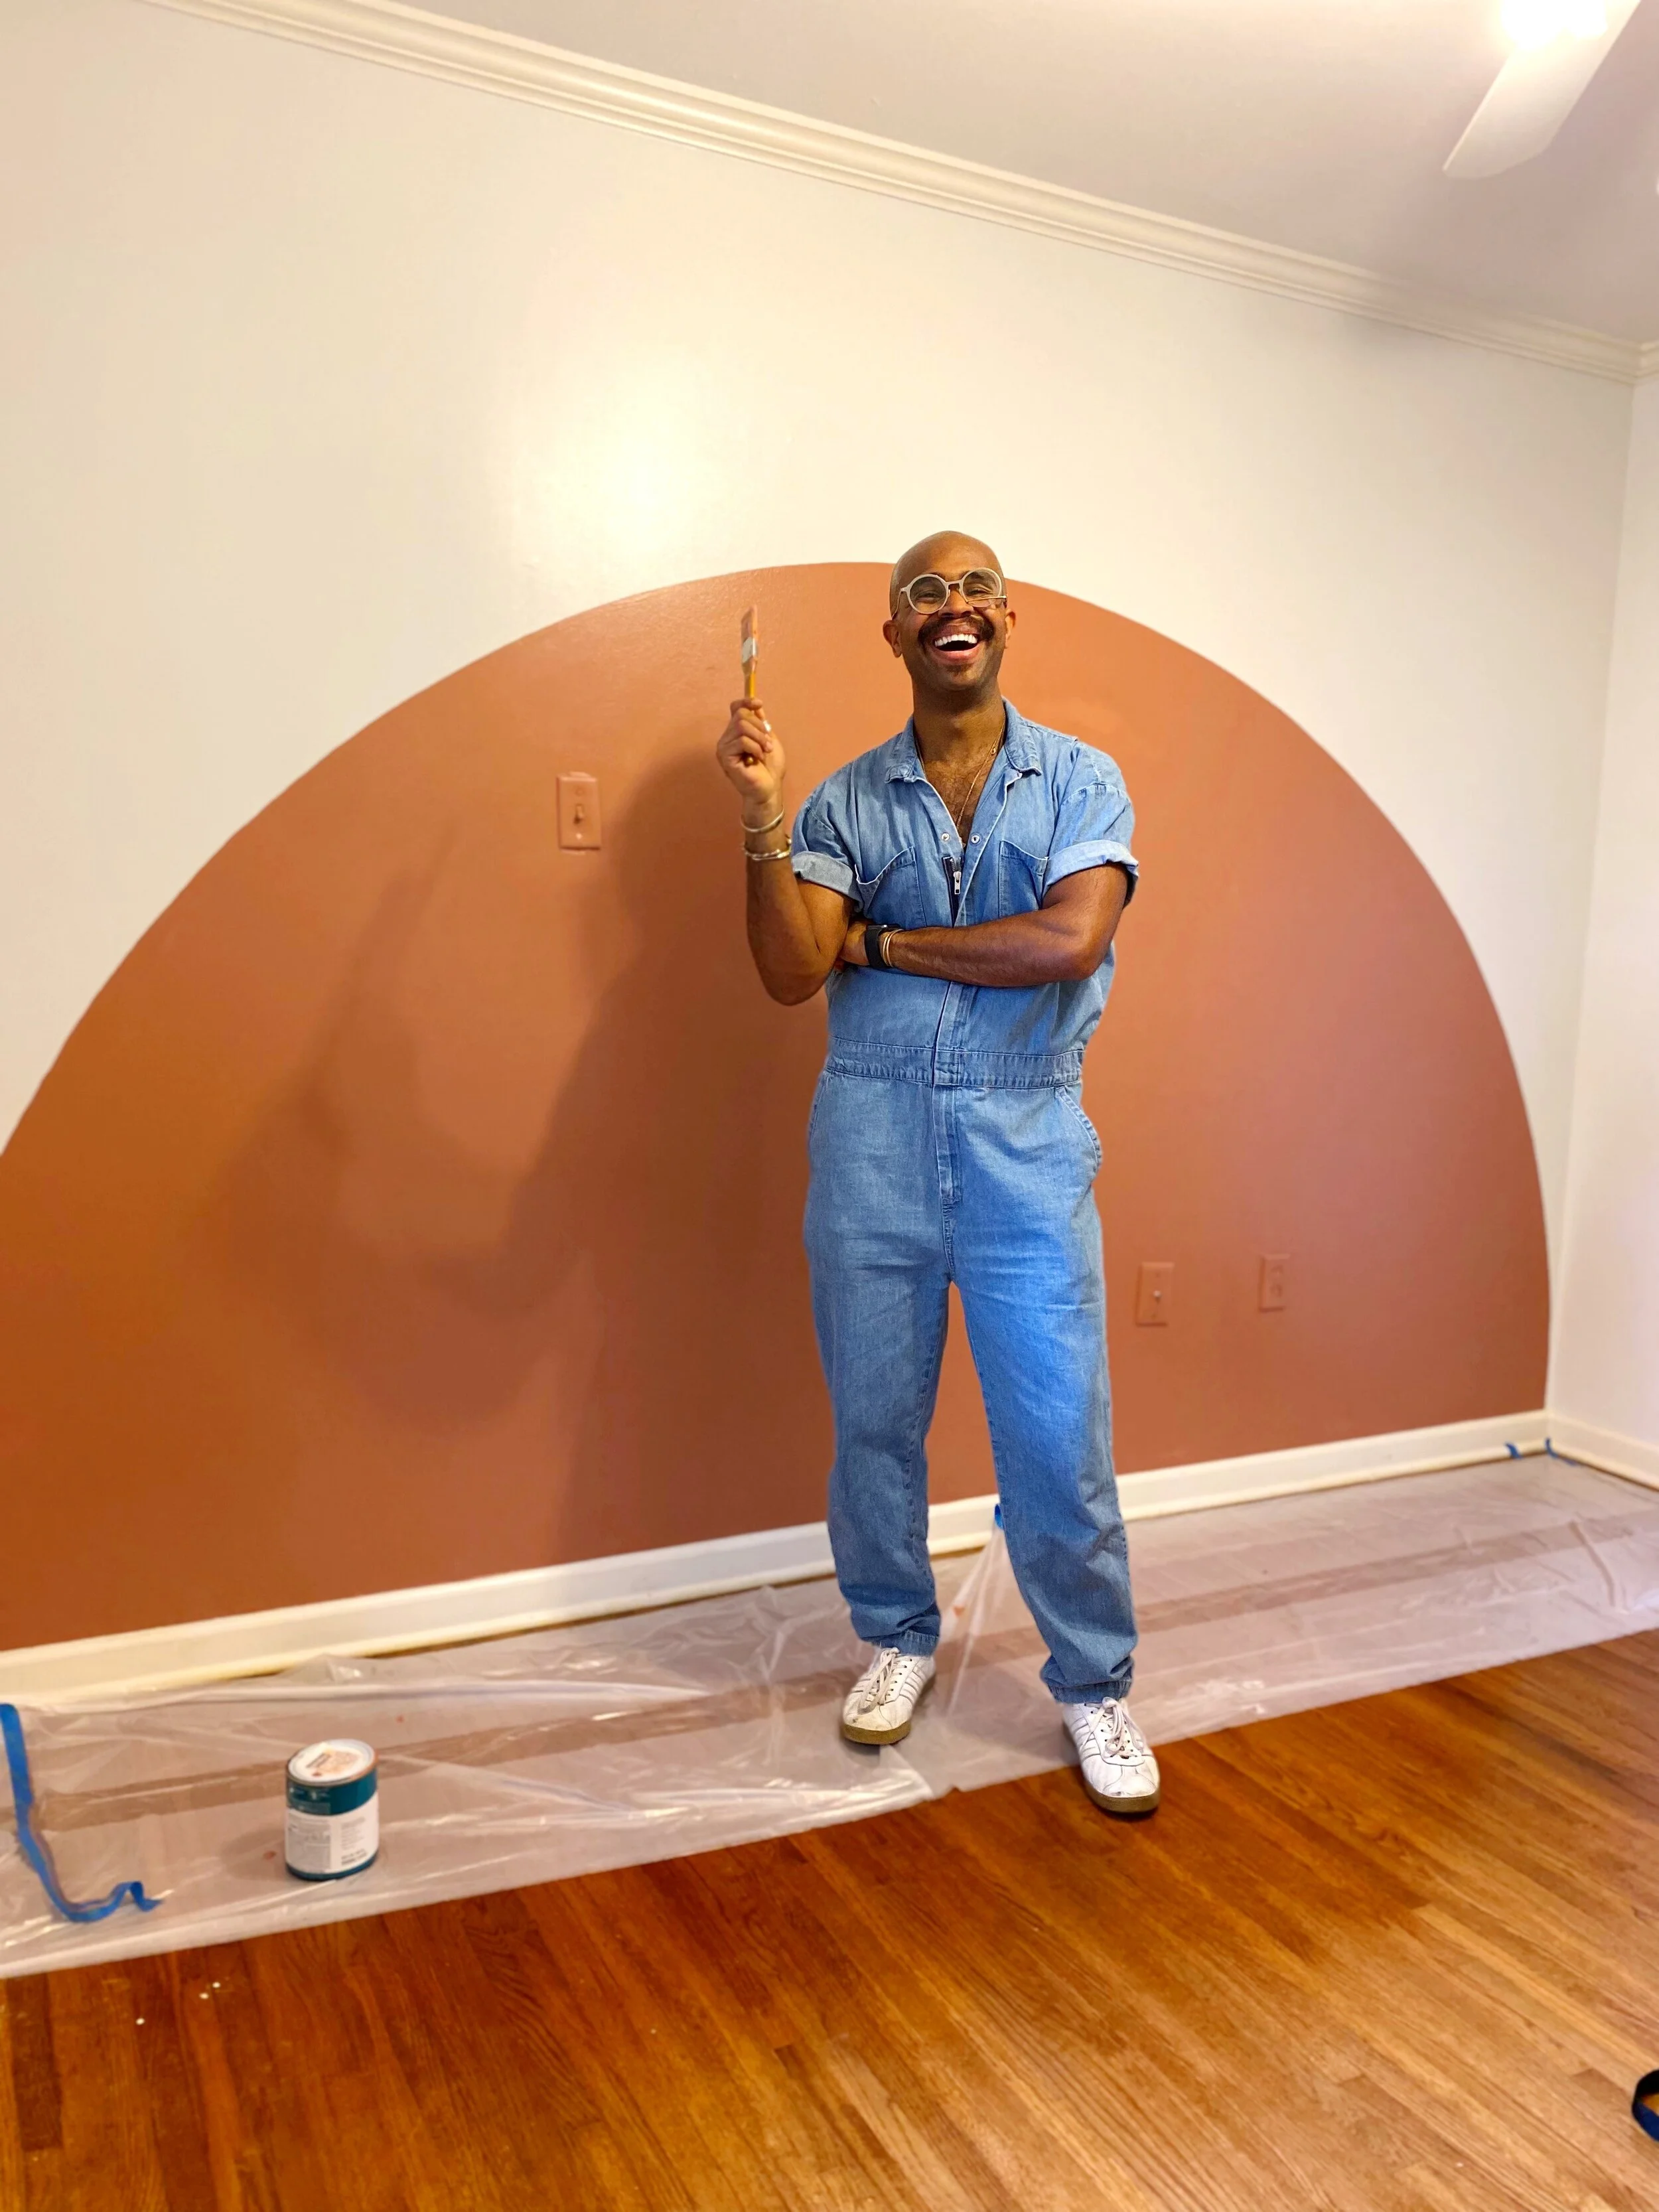
As my dad always tells me, “the worst part about doing something is thinking about it!” And that was absolutely the case when it came to me making these float frames for some of the original pieces of work in my home.
BUT, for the past couple of weeks, I’ve been afforded the rarity of some downtime - meaning only doing 40 things at once instead of 100 - so, I took advantage of that time to get some things done around the house, and indulge in some self-care. Thankfully, DIY projects for me are self-care - so, two birds, one stone!
Why I Decided to Make my Frames
If you’ve ever gone to a framing shop, or at least to craft stores like Michael’s and Hobby Lobby, you’d know that custom framing can get a bit expensive! The frames I looked at for some of these larger pieces started at $589. Now, that’s not horrible. However, with multiple pieces to frame in my home, that number can add up real quick! And since the look I was going for in my frame choices was minimal - given that my home is a bit of an art gallery and I want to minimize the visual space taken up by frames - I decided that float frames would be the best option . . . and if that were the case, I should just make them myself.
So I did! And here’s how I did it!
Ready to Give it a Try?
First things first, please make sure to measure the height and width of your artwork. This will serve as the base for your frame’s inside measurements 😉.
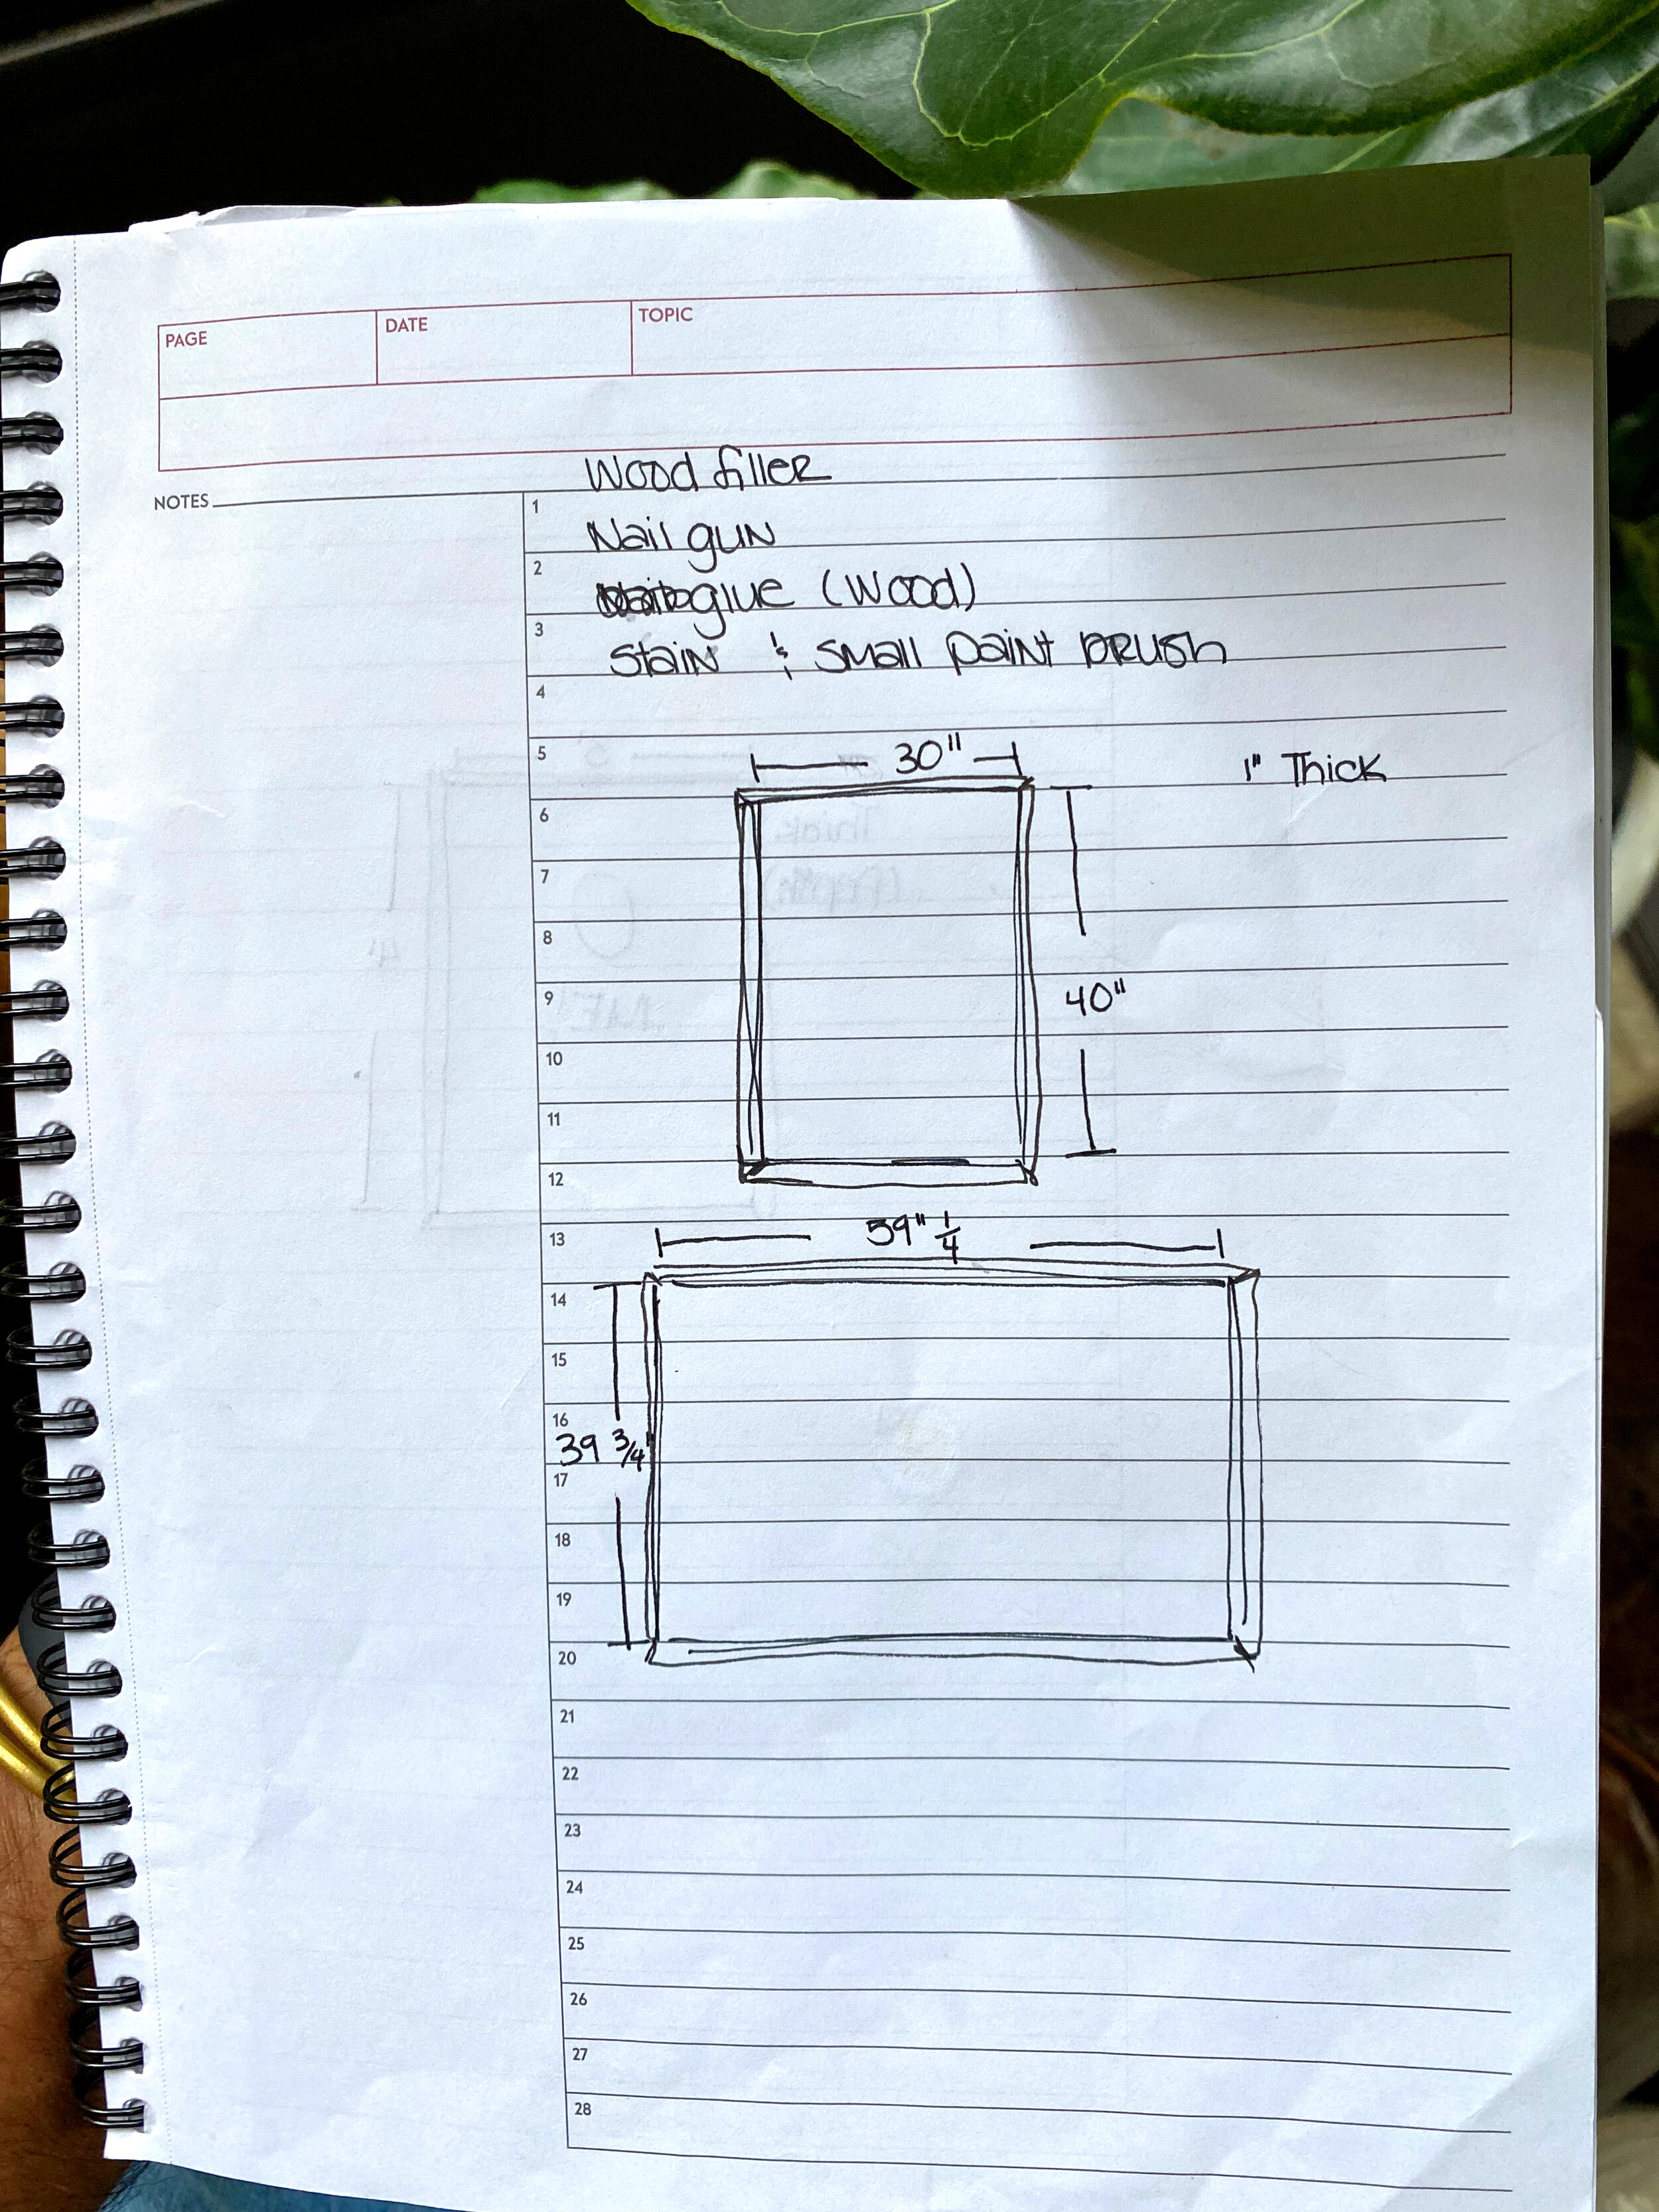
Next, try to sketch out your plans to keep track of measurements and the concept you have for the project . . . and your hardware store shopping list, if you’re like me!
Here’s What You’ll Need
Materials List:
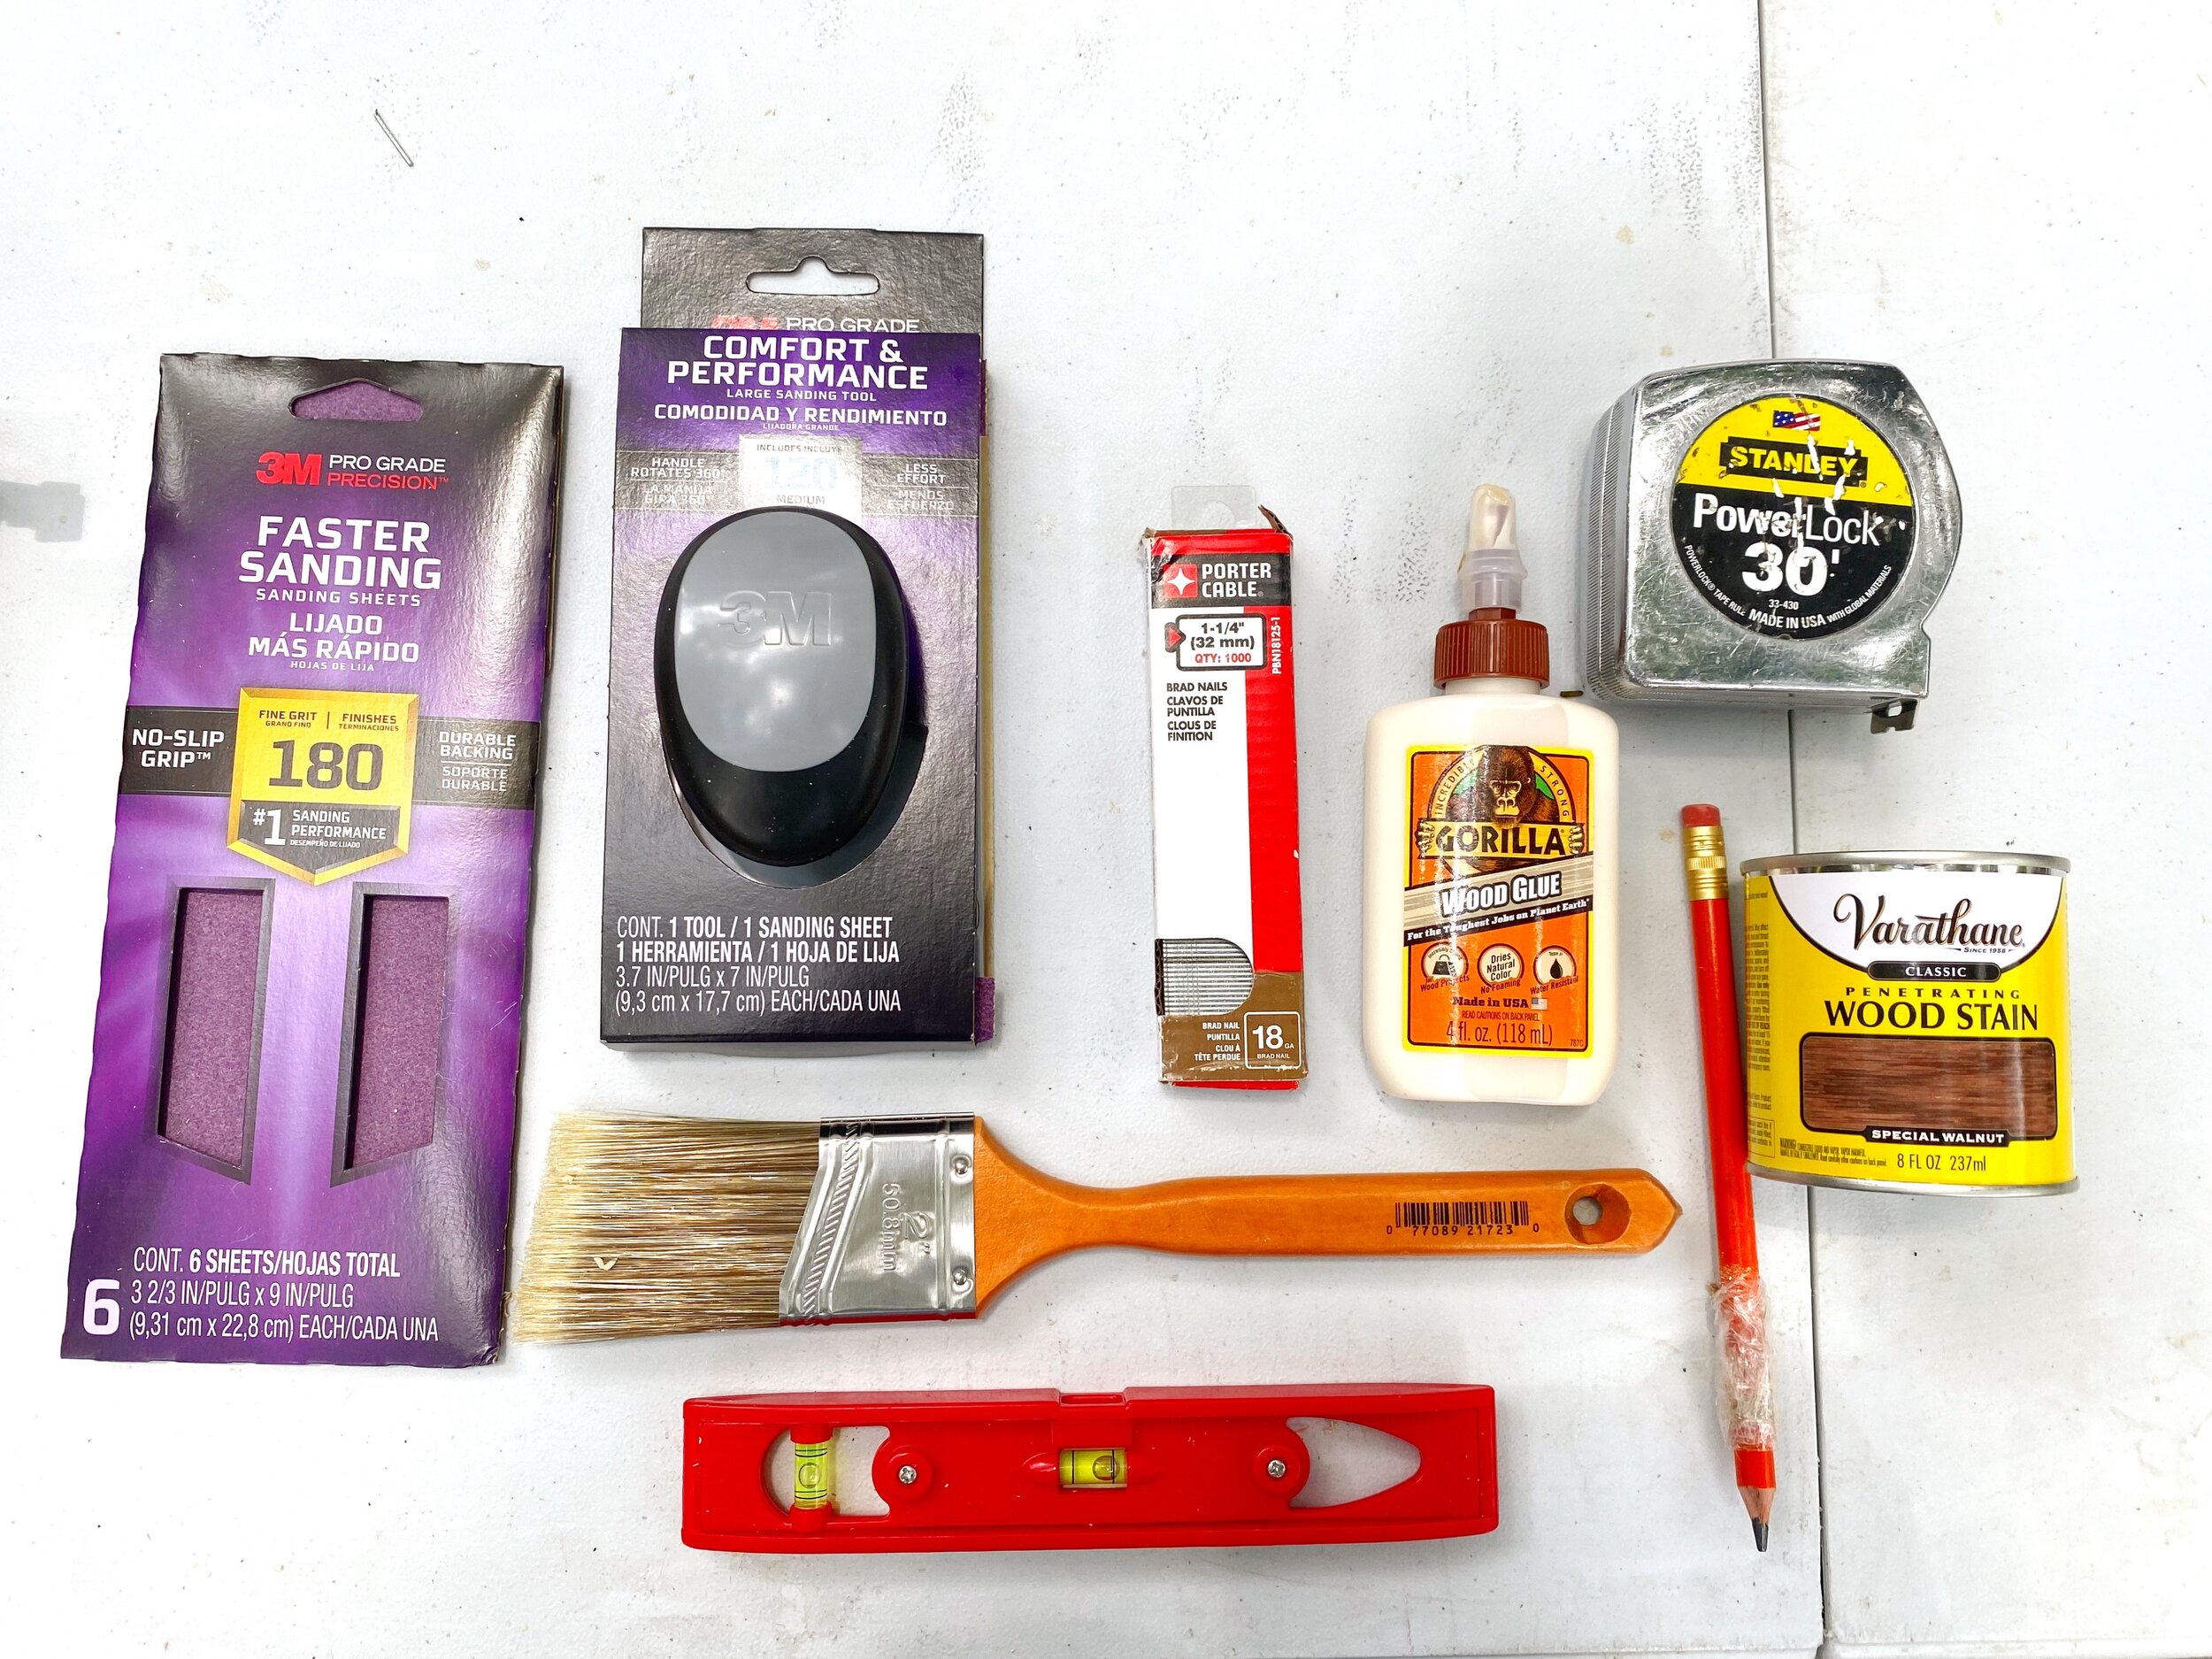
Pine wood - for this project (because of the depth and lengths of the artwork) I needed 8 1”x2”8’.
Too, I chose pine instead of the common white wood because there’s less chance of bowing, less of a need to sand after the project is complete, and this wood accepts stain a lot better. Trust me, I’m sparing you the frustration since I made a prototype using common wood . . . ‘twasn’t pretty!
1/4” x 1.5” x 3’ poplar - for backers (this is the wood we’ll use to secure the painting to the frame)
Stain of choice - I used Special Walnut
Pencil
1/4” screws
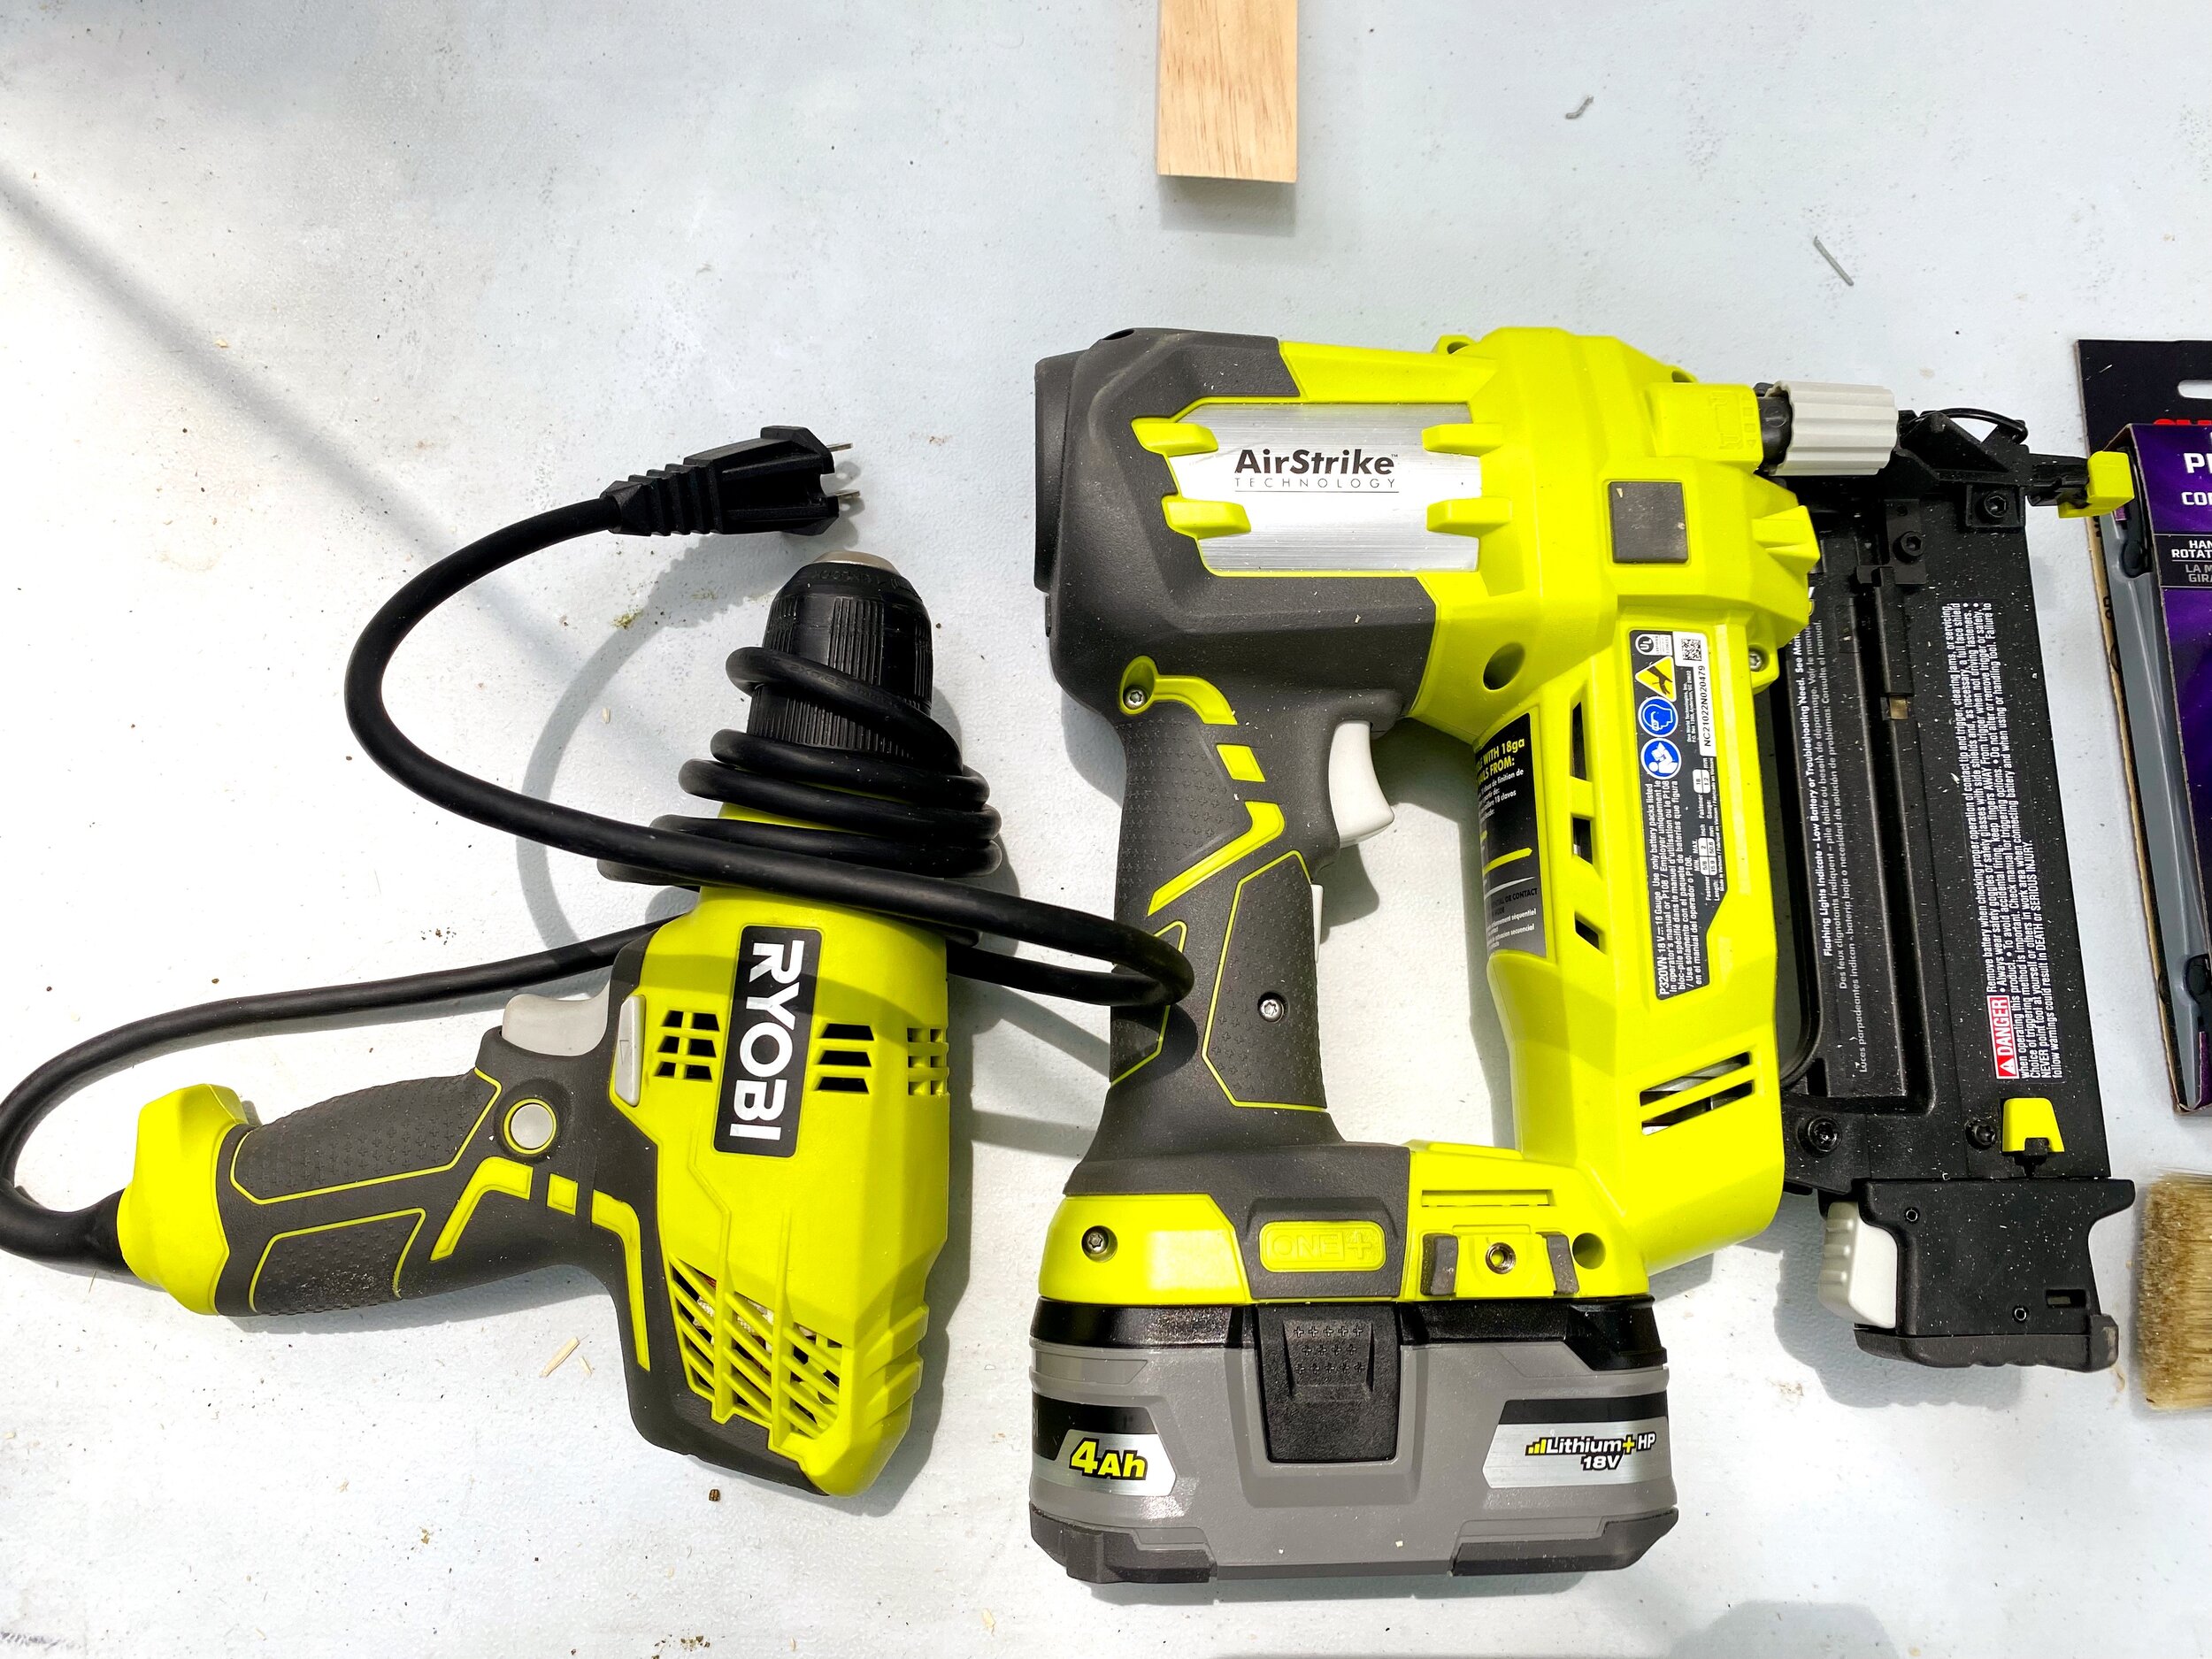
Tools
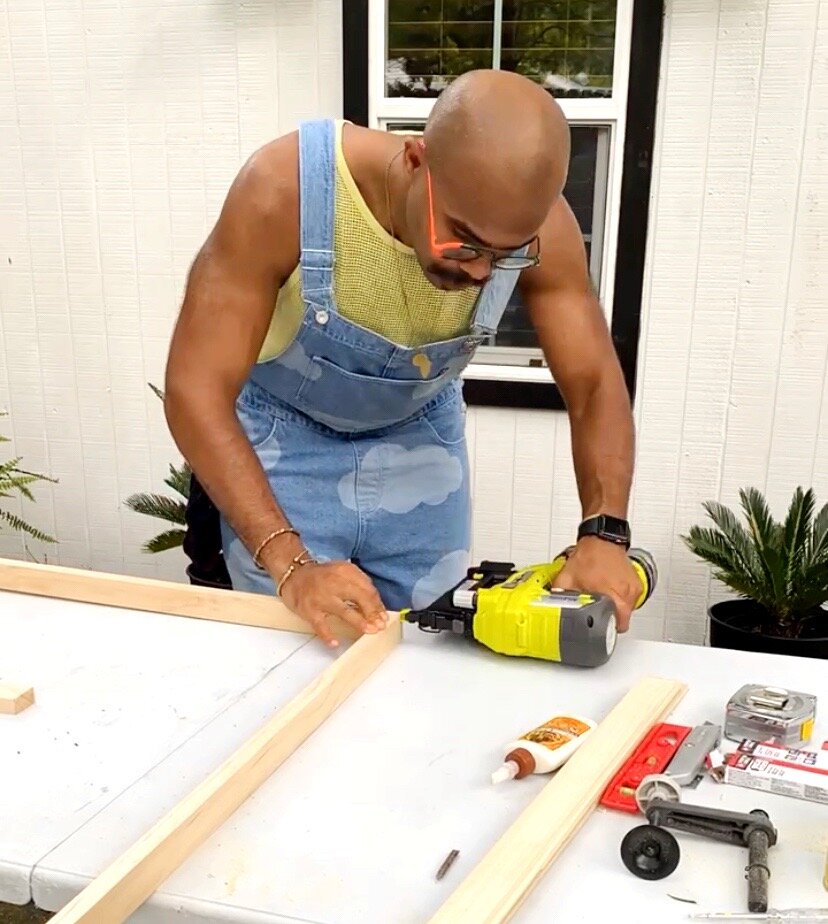
Brad nailer - small nail gun
Sandpaper (sponge) - I ultimately went with a sandpaper sponge. It was much easier to work with and I’ve gotten more use out of these than traditional sandpaper!
The Method
Once you’ve got your measurements for your artwork - height and width - it’s time to use those measurements to determine your inside frame cuts.
For example - the larger painting I framed is 4’ x 3’. On the 1”x2”8’ pine wood strip, I measured out and marked a little over each dimension:
For my 4’ sides, I measured 4' 3/16
And for my 3’ sides, the same thing, 3’ 3/16
Why? We need to leave a liiittle extra room so that the artwork will easily drop into the frame once it’s built.
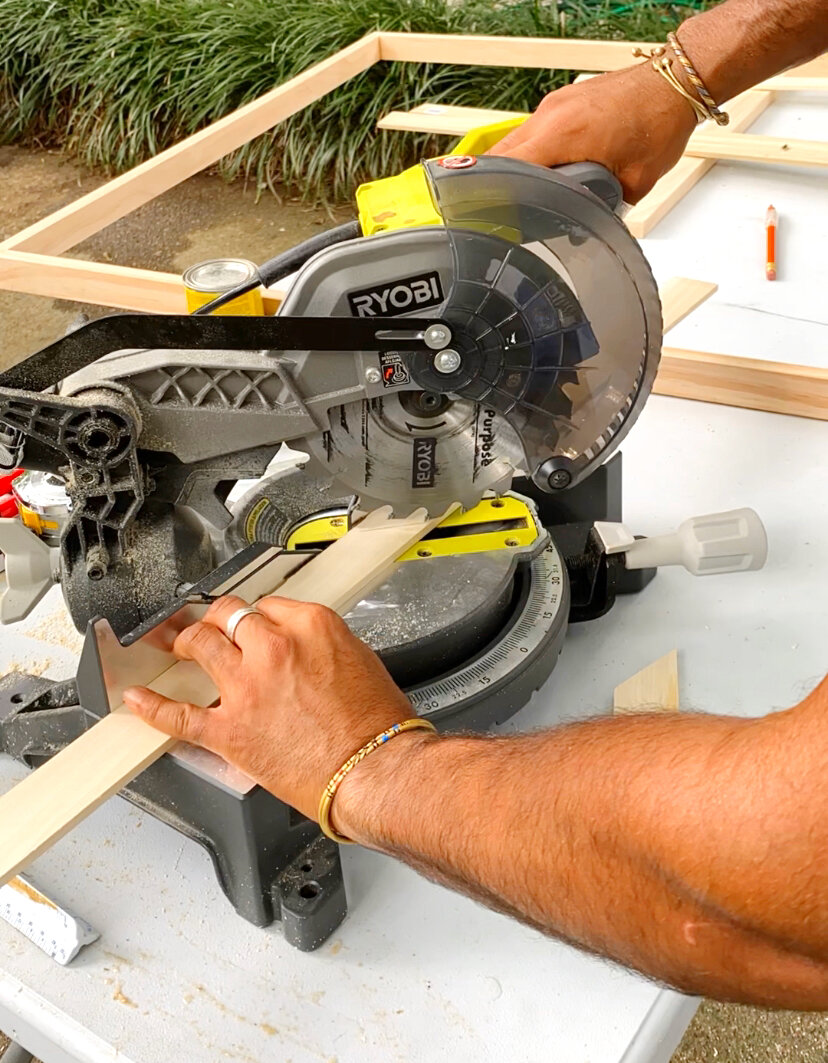
As your first official cut, trim off a piece at a (horizontal) 45-degree angle - trust me, I was nervous, too, about the first cut! But, this makes establishing the rest of your cuts a bit easier; and thankfully the saw has a setting that cuts 45-degree angles - so less work and worry!

Now that you have this first piece cut, mark your measurements on what will be the inner portion of your frame. From here, measure out your first length, then make your second 45-degree angle cut.
Guess what, you have your first side done!
Repeat this same method for each side (top, bottom, and sides) and soon, you’ll be ready to attach all your pieces.
But before, and to make this process even easier, for each matching side, use the first piece you cut as a template for the following piece. This will help cut down on the time it takes to measure out all sides.
Attaching the Corners

Using your wood glue, lightly cover only one side of the cut angle, then push and hold it together for a few seconds to the adjoining cut piece of wood.
Next up, secure the adjoining sides with your brad nails. This step can seem a bit scary. But, with making sure that your hands are a safe distance away from the nail gun - as you’re holding the pieces of wood together - you’re now ready to nail the sides together. You’ll repeat this process for all four sides.
Note: using picture frame clamps would be one of the safest ways to hold the adjoining corners together while you attach them with nails.
You see, we’re almost there!
The Support
To be able to attach. your artwork/canvas to the frame, we’ll need to build some supports. These supports will also help in reinforcing the overall frame. For this step, we’ll use our 1/4” x 1.5” x 3’ poplar strips.
Since the pieces I’m framing are a bit larger, I cut my poplar strips into 10” sections, and with 45-degree angles at each side (shown below).

Once you’ve cut your strips for all four sides, nail them to the frame. And just like that, you’ve built the frame! Now, it’s time for the stain.

Using your stain color of choice - I used special walnut - apply a coat or two to your frame. Once it’s dry, we are ready to add the finishing touch - attaching our artwork!
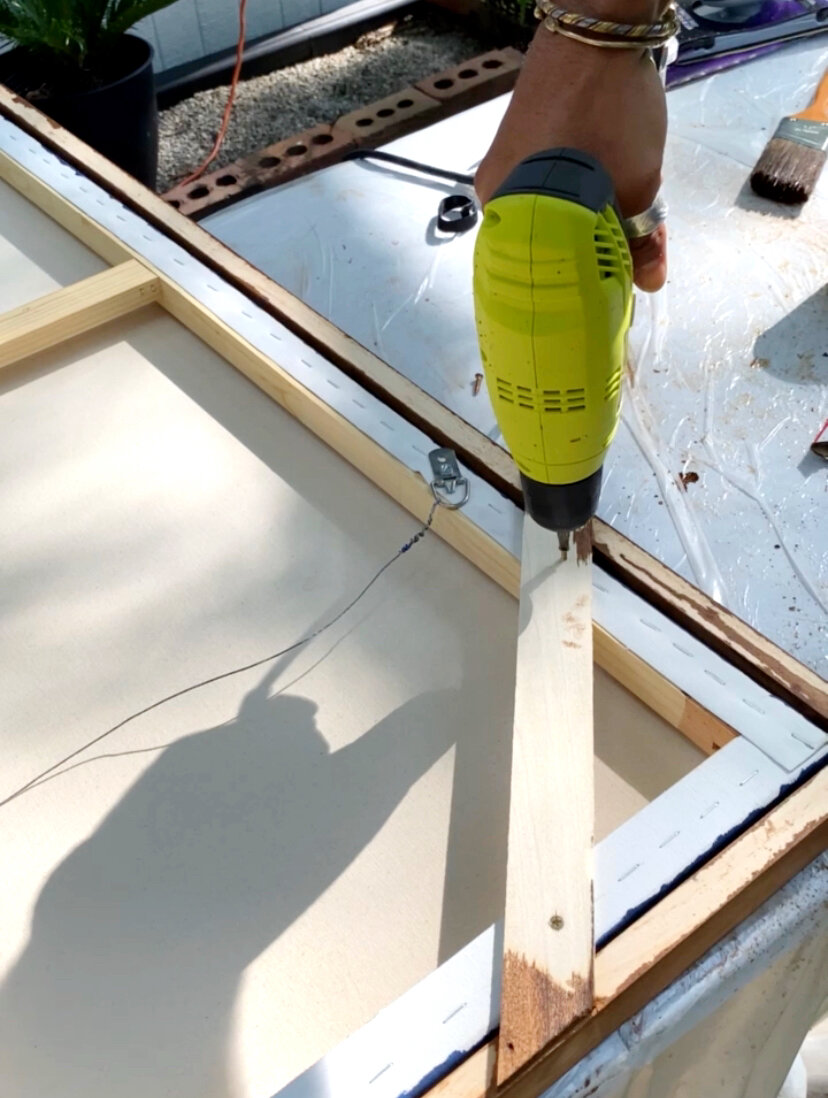
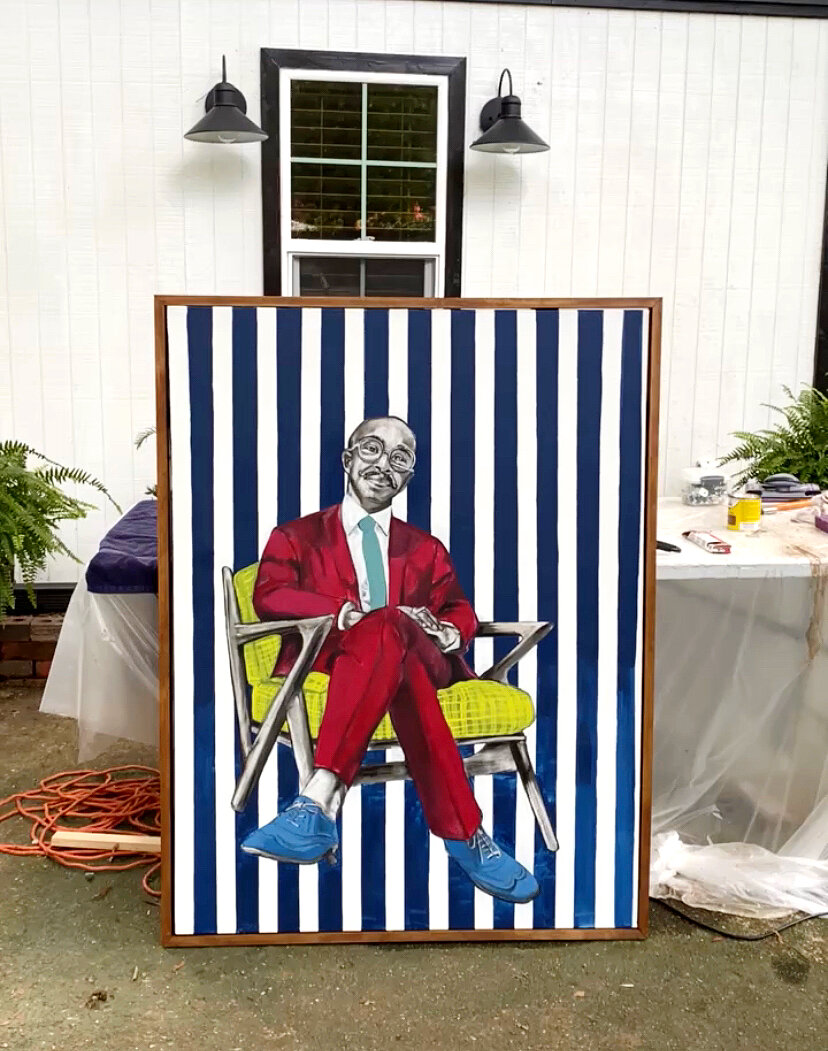
Using your 1/4” screws, attach your canvas to the wooden support strips, and you are DONE!
See? That wasn’t bad at ALL! And just to make things even better, check out the video below, showing each step performed . . . with a little bit - ok, a lot, of fun mixed in.
Oh, and by making my own frames, I saved right at $415 overall!
Let me know in the comments below if you’ve created your own float frames, and what tips you’d like to share.
Happy creating!